Did you complete and review material from previous worksheet, including...
Planning: What is your website about? What info are you presenting on the subject? What is it going look like?
Sketching out your design - wireframe diagrams.
Choosing your assets: text, color theme, images, font.
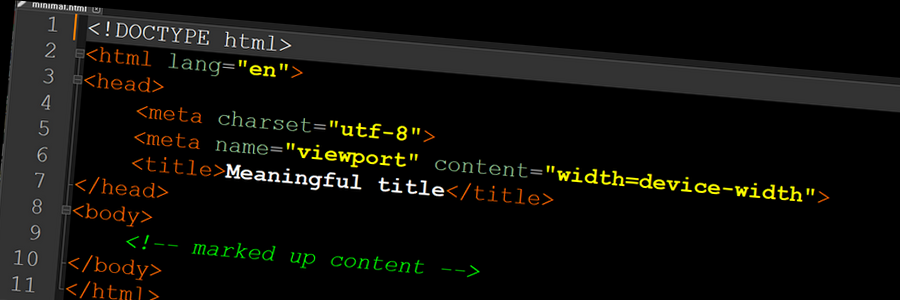
What's in the head? Metadata in HTML -- What is the HTML head? Adding a title. Metadata: the META element. Applying CSS and JavaScript to HTML. Setting the primary language of the document.
WCAG (accessible web design principles: perceivable, operable, understandable, robust)
1.2. Preparing server environment
Did you download and install FileZilla client?
Did you request a password for dev.fast.sheridanc.on.ca server? Did you receive and read the email? Store your password in a safe place (see previous worksheet).
STEP 2. Using the File Manager in the cPanel, navigate to public_html directory, create the folder syst10049 using the +Folder menu item (see FIGURE 1).
FIGURE 1. +Folder is the second menu item from the left, in the top menu.
STEP 3. Move to the syst10049 folder and create the assignments folder, the templates folder, and the week03 folder.
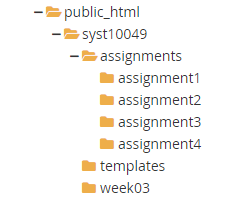
STEP 4. Move to the assignments folder and create the assignment1, assignment2, assignment3, and assignment4 folders. Your sub-tree should look the same as illustrated in FIGURE 2.
FIGURE 2. Sub-tree on the server
STEP 5. Complete the steps in the "SYST10049 Setup Tasks: Protect Assignments with cPanel" in STEP 1.
STEP 6. If you make a mistake and protect the wrong folder:
Navigate to the folder that you have protected by mistake (remember: to navigate, you click on the icons)
Click on the text (name of the folder) that you want to unprotect.
Scroll down to the bottom of the page. Under the heading "Authorized Users", select (click on username) and then click the "Delete User" button underneath.
FIGURE 3. How to remove authorized users
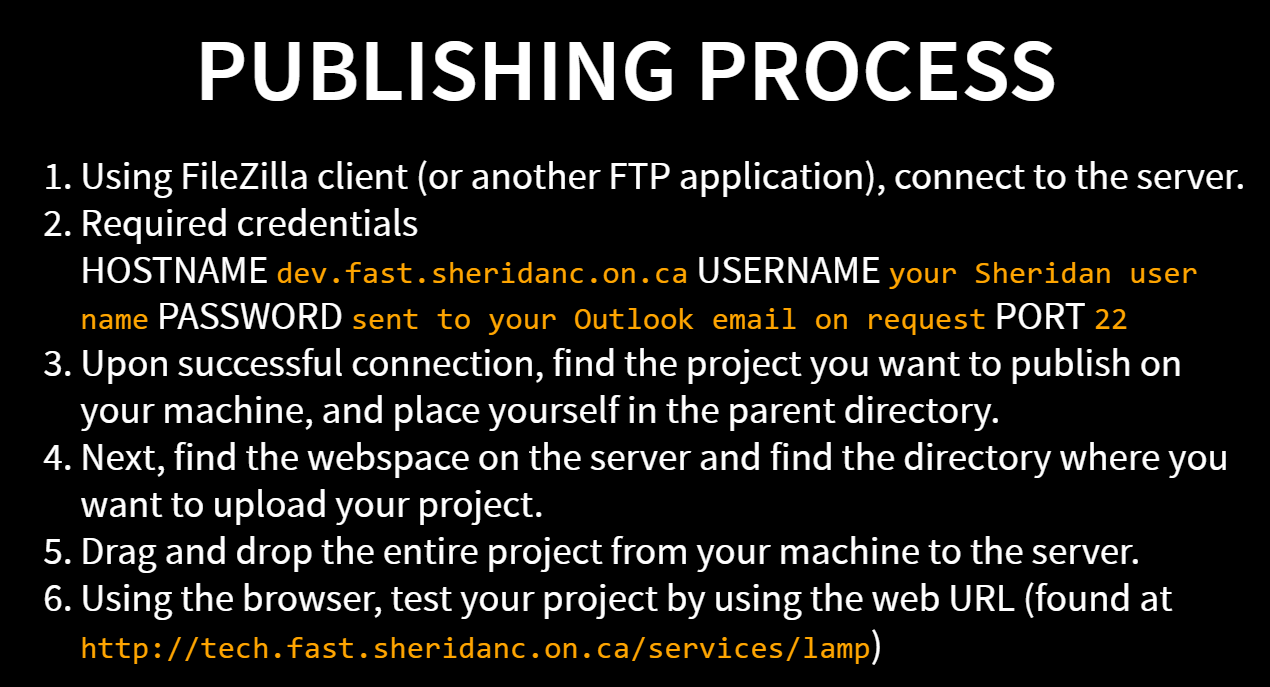
Publishing process to dev.fast.sheridanc.on.ca
FIGURE 4. Publishing process to dev.fast.sheridanc.on.ca
Dealing with files (MDN web docs) Where should your website live on your computer? An aside on casing and spacing. What structure should your website have? File paths.
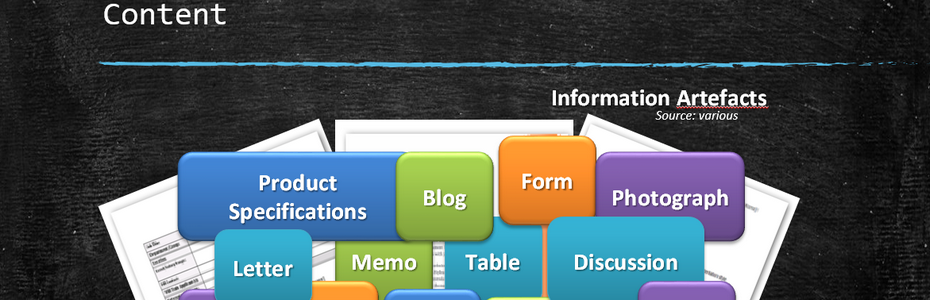
HTML for structuring content. HTML layout elements in more detail. (Information architecture: Information architecture, as applied to web design and development, is the practice of organizing the information, content, and functionality of a website so that it presents the best user experience it can, with information and services being easily usable and findable.)
Basic sections of a document (header, navigation bar, main content, sidebar, footer)
Many web designers consider the navigation bar to be part of the header rather than an individual component, but that's not a requirement; in fact, some also argue that having the two separate is better for accessibility, as screen readers can read the two features better if they are separate.
we need to respect semantics and use the right element for the right job.
HTML basics (MDN web docs) ADDED So what is HTML? • Anatomy of an HTML element • Nesting elements • Void (Empty) elements • Anatomy of an HTML document • Marking up text (Headings, Paragraphs, Lists) • Links
Accessibility tree Browser Accessibility Tree provides a representation of the document that is used by assistive devices like screen readers. Each node in the tree has the properties name, description, role and state.
Compare to image of the letter as rendered without any CSS. Remember CSS is added only after the content is marked up with HTML5, with the objective of achieving semantic correctness, accessibility, well-formedness, and validity. The rendering of the letter at the end of Phase I PE (without CSS)
Here is a suggested list of requirements. You can incorporate the requirements list in your document and use the TODO and DONE notation to keep track of your progress:
Suggested documentation You can also read the original project on Marking up a letter on MDNLINK UPDATED -- ignore all references to CSS -- Addressor's contact information WILL NOT BE aligned on the right! (that will come later in PE Phase 2)